
origami shirt and tie instructions, This is an easy origami tie that is perfect for Father’s Day.

Start with a 6 inch x 6 inch (15cm x 15cm) square origami paper.

Now fold paper in half on the horizontal diagonal axis. Once again, crease only in the center to mark the spot.

Fold both sides to the center.

Fold both sides to the center again.

Fold down the top tip.

Flip paper over.

Fold the top half to the center crease.

Fold the top part back over. This forms the “knot” of the tie.

Flip paper over.

Fold both the top right and left corners to the center. We’re only creasing on the “knot” part of the tie.

Let’s focus on the top part of the tie. Pry paper open at the corner (knot area) and make a squash fold by pressing the paper flat.

Pry paper open and make the squash fold.

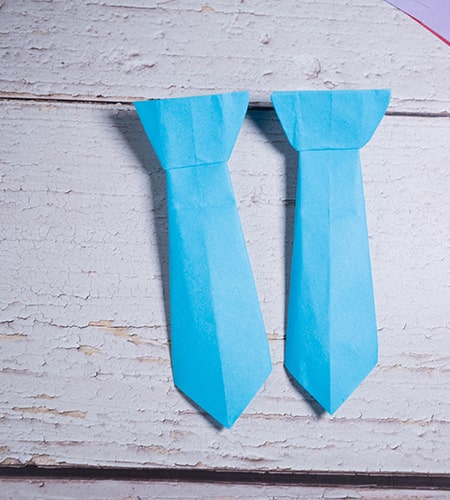
Flip paper over and your origami tie is complete!
origami-tie

MORE ORIGAMI READERS LOVE!


1 thought on “origami tie instructions”