
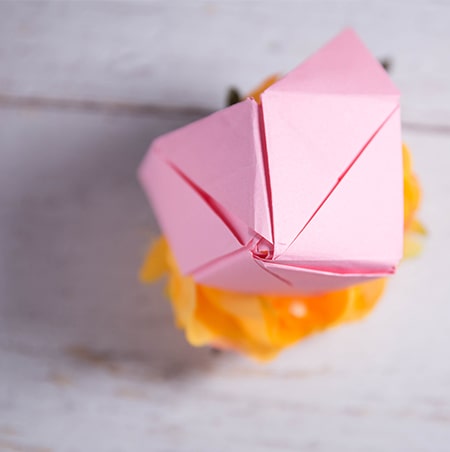
The origami magic rose cube is referred to as magic perhaps because a precut paper can be transformed into a beautiful rose in a few steps. Normally when folded properly, the rose can be transfigured into a box, which in turn opens up into the rose shape.

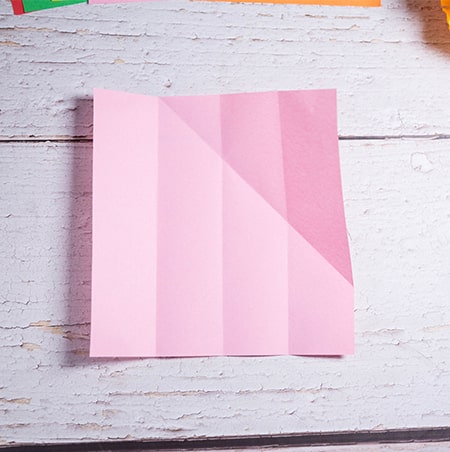
Fold paper in half on the vertical axis. Crease well and unfold.

Fold both sides to meet in the center. Crease well and unfold.

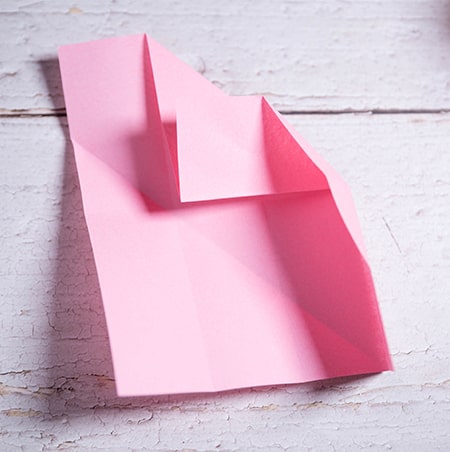
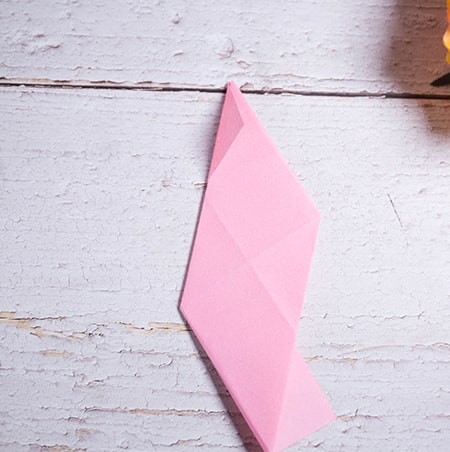
You will need to take the top corner of the triangle you just folded and make a fold towards you on the line. Then take the top left corner of the paper and fold it to your right on the line. Finally flatten the paper well and turn it around.


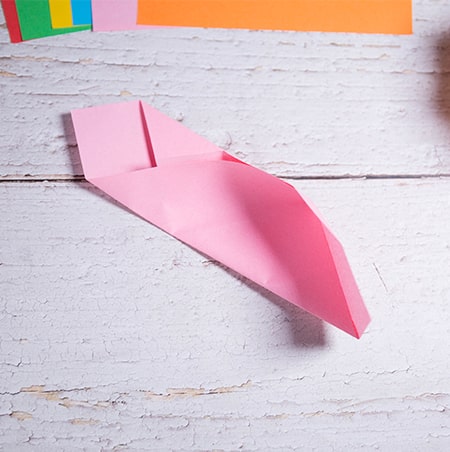
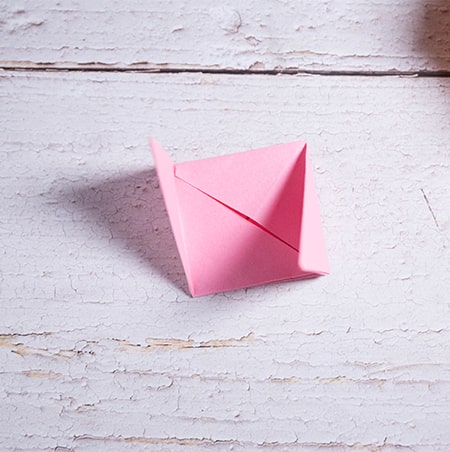
You will need to lift the flap on the bottom right corner and fold the bottom left corner into the flap. Then you will need to fold towards you the on the line, the corner of what used to be the bottom left corner. Then fold the top left corner to your right and then flatten it out.


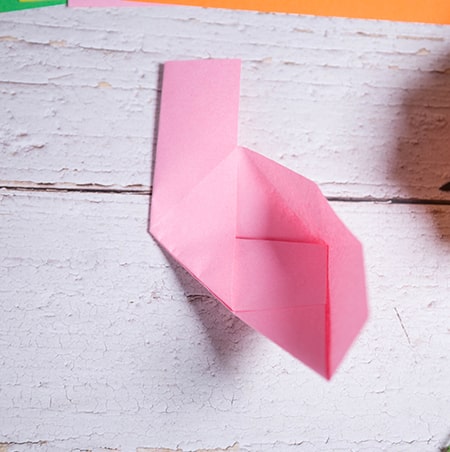

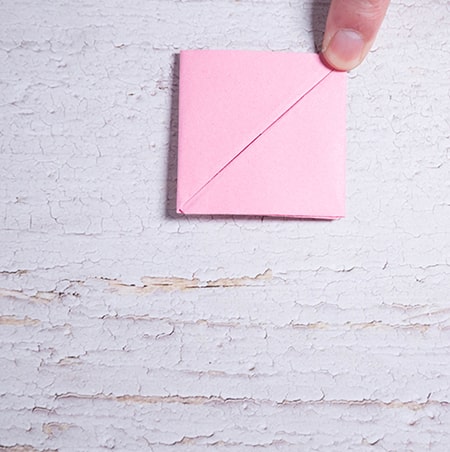
You will need to flip the paper upside down and fold the triangles on the top and bottom in. Then fold the top right corner of the paper to the top left corner of the paper. Then fold the bottom left corner of the paper to the bottom right corner of the paper. Then unfold the last four folds you did.


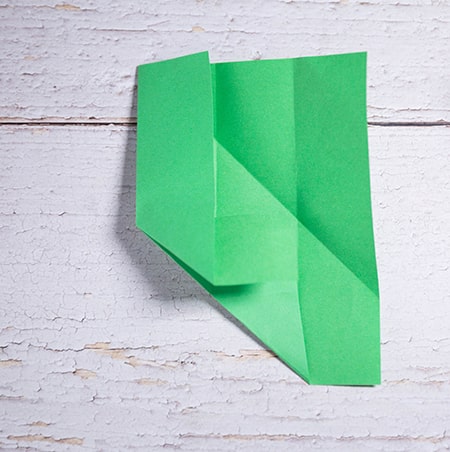
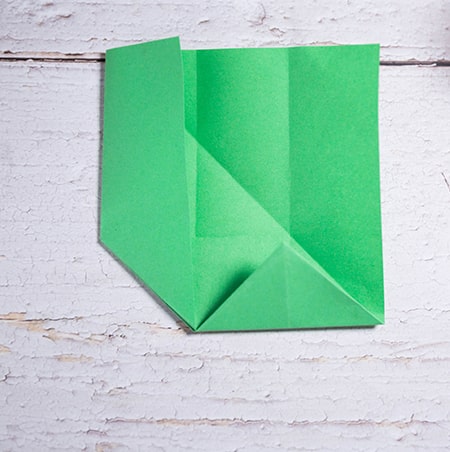
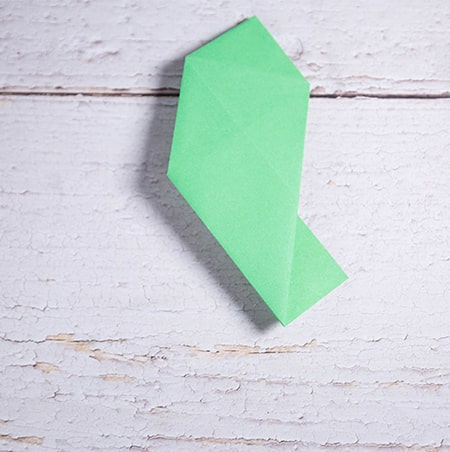
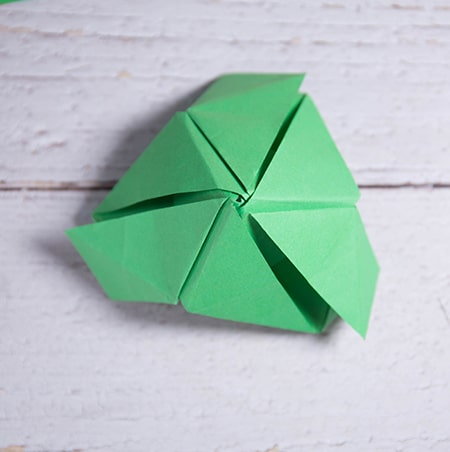
Take the green piece of paper and fold it in half. Then in half again in the same direction you folded it the first time and then unfold it. Then you will fold the top right of the paper at a 45 degree angle that will line up with the first line on the left. Then do the same to the bottom left corner.
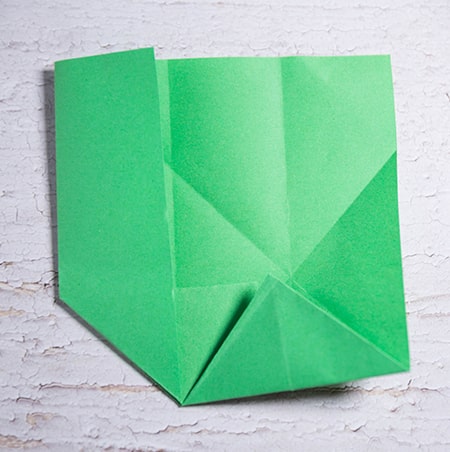
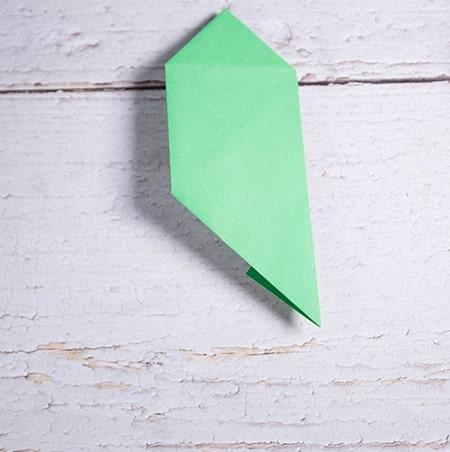
Make the small diagonal fold on the bottom right as shown.

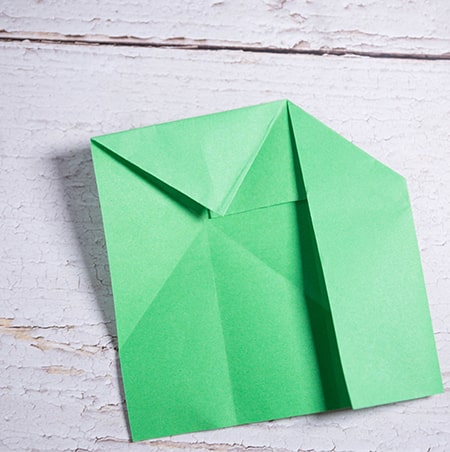
Fold up the bottom tip.
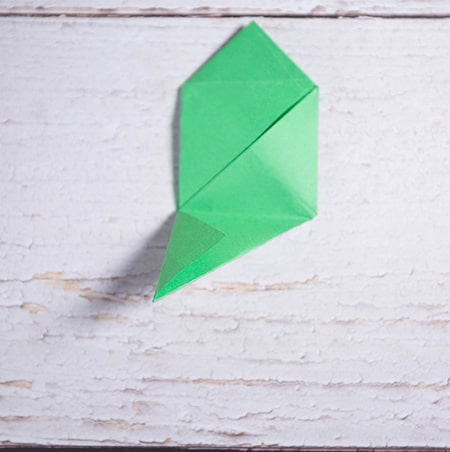
Make the diagonal fold. Crease well and unfold.
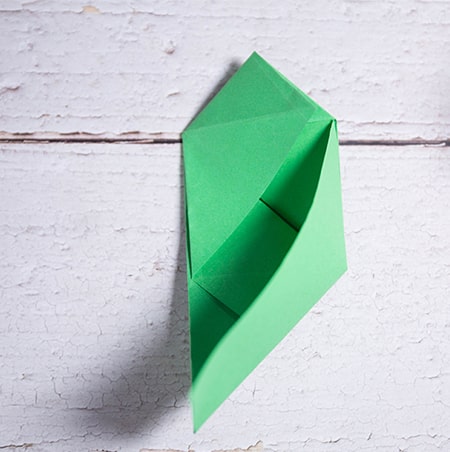
Rotate paper.


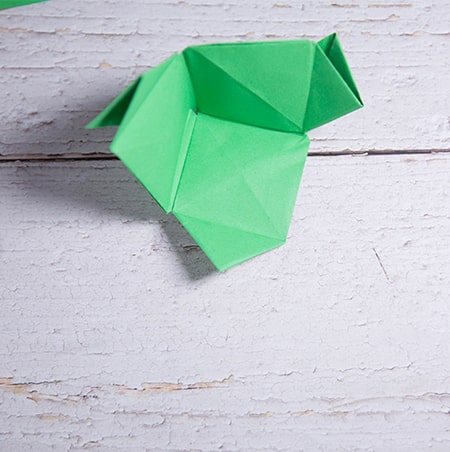
Now we’re going to bring the left side over to the right to close the paper.

Flip paper over. Make the small diagonal fold on the bottom right.

One more diagonal fold. Crease well and unfold.

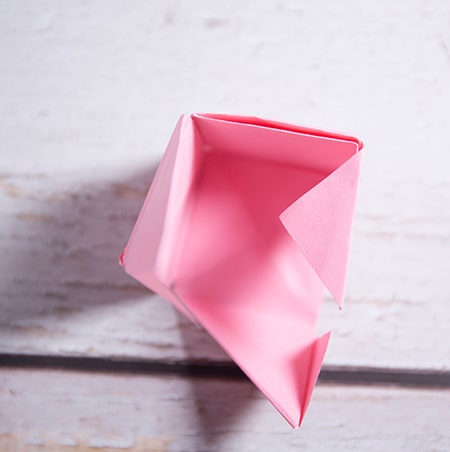

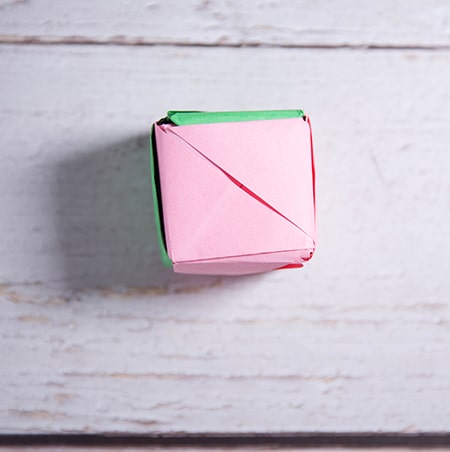
First you will need to put one of the flaps of the red or pink figure into a pocket a green figure. Then fold the two figures together so that they form a cube. Then put one of the green flaps of the green figure into the a pocket next to the first flap you put in. Then you will need to put another red flap in to one of the green pocket.

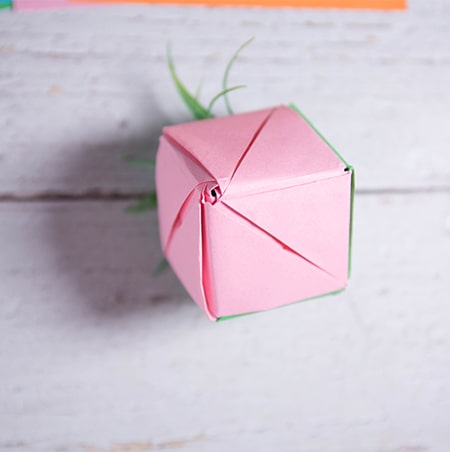
Just kidding you will need to grab the outside of each of the red or pink pockets and gently push them in about a half an inch. You will need to do it three times. Then you will need to pull the green flaps out, they act as petals for the flower.


MORE READERS LOVE!


2 thoughts on “Origami Magic Rose Cube”