
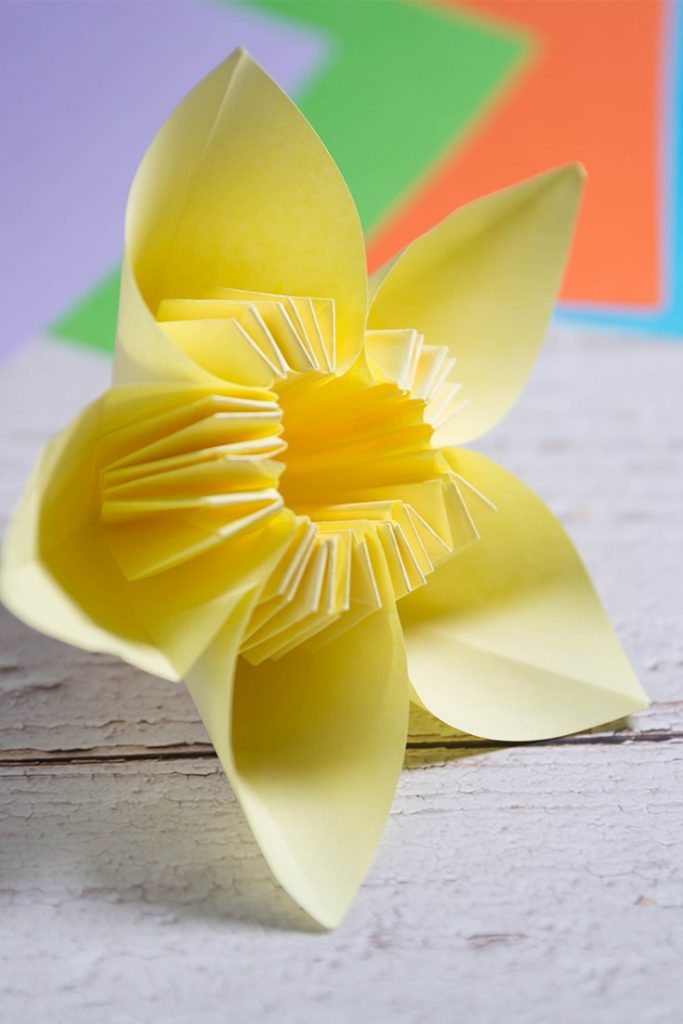
This pretty flower is relatively simple to fold, but sure to impress all of your friends. kusudama flower origami steps.
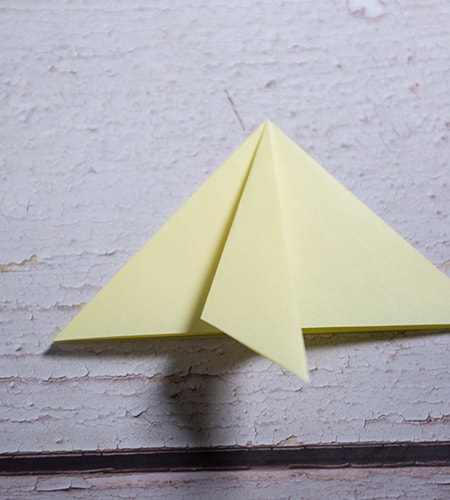
Start by folding a waterbomb base.


Fold the top layer from the right to left.
By doing so, you now have 3 layers on the left and one on the right.


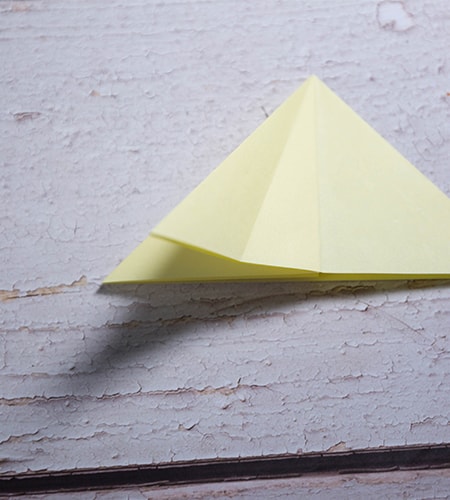
Pry open the top layer on the left and bring it to the center and press it flat, making a squash fold.
Fold the left half over to the right.
Repeat Steps 3 to 5 for the other 2 layers on the left.

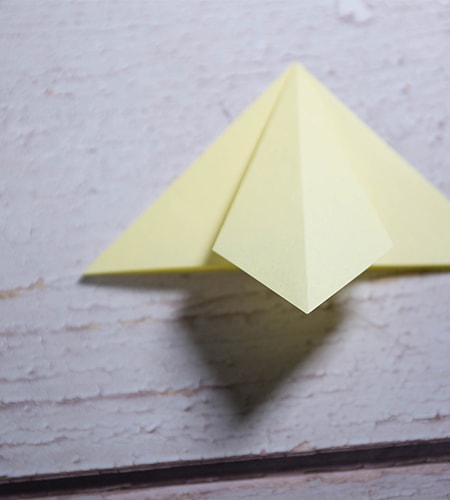
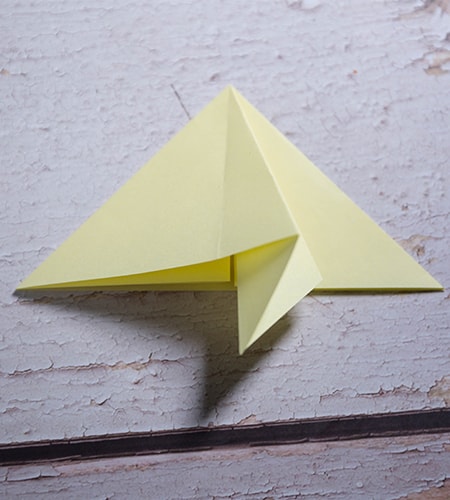
Move the layers back to the left.
We’re now going to start another series of steps that will need to repeated for each of the 3 layers on the left.
Make a diagonal fold on the top left layer.
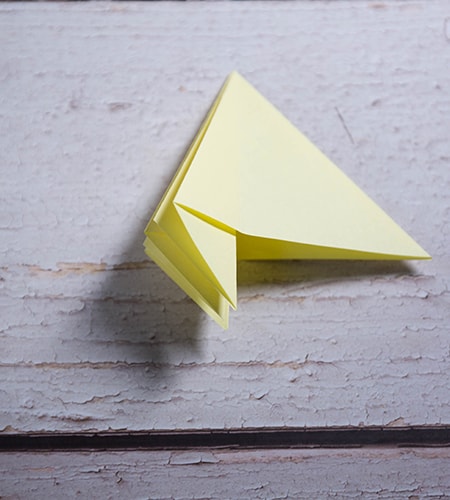
Move the top left layer from the left to right.
Fold the upper left layer from the left to right.
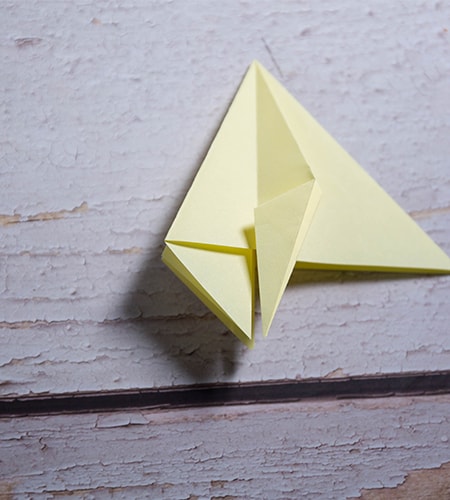
Make a diagonal fold as shown below.
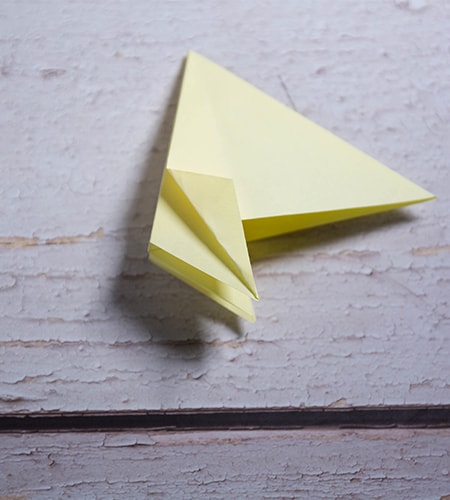
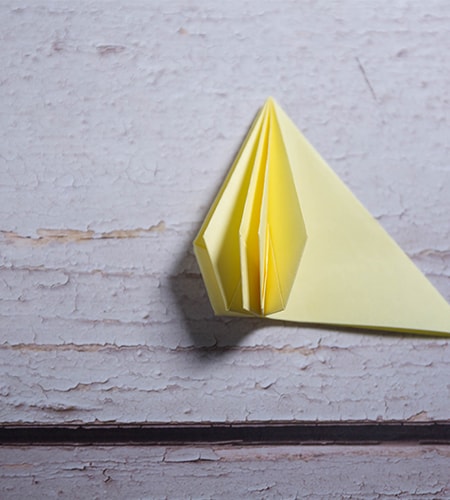
Fold up the bottom tip.
Fold the left half over to the right. This completes the series of steps for the first layer on the left.
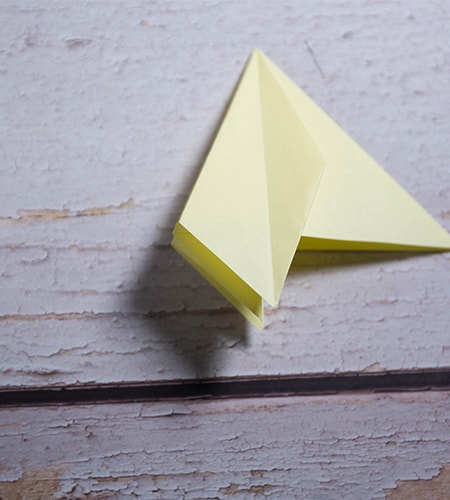
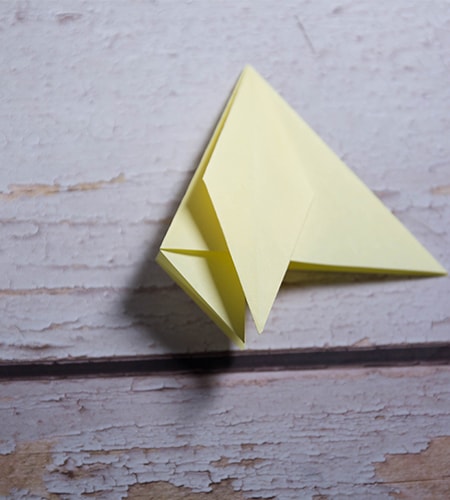
Here comes a very interesting step….Unfold your paper! Yes, that is not a mistake!
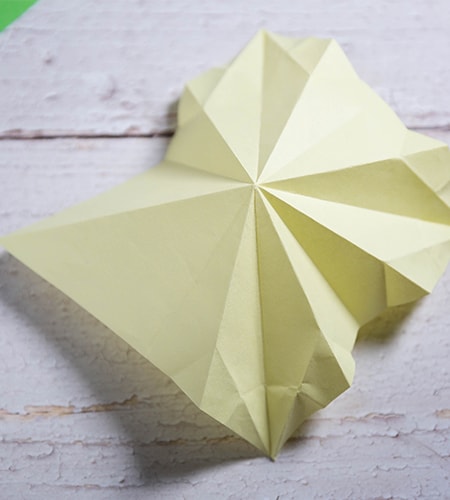
Push down the paper in the center to invert it.
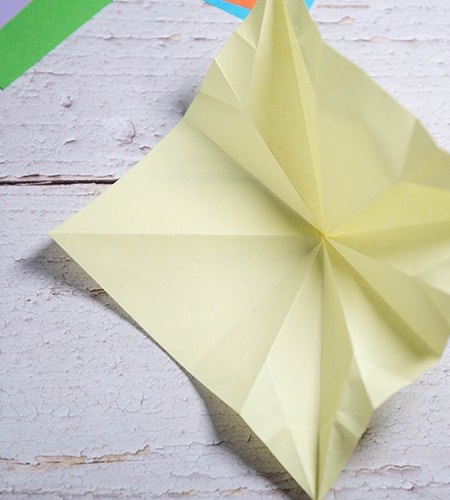
We’re now going to fold the paper back up.
We’re going to use the existing folds as is. So if it is a mountain fold, it will stay as a mountain fold. And if it is a valley fold, it will stay as a valley fold.
The paper should move easily into position.
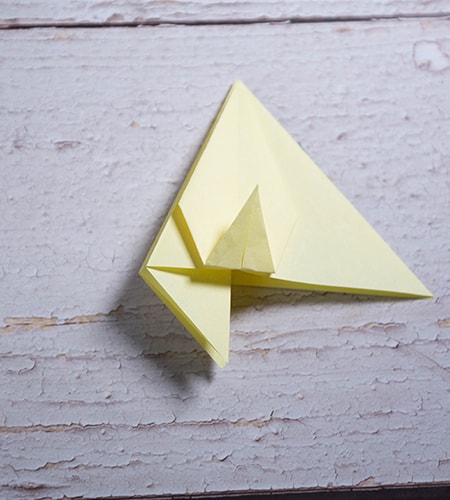
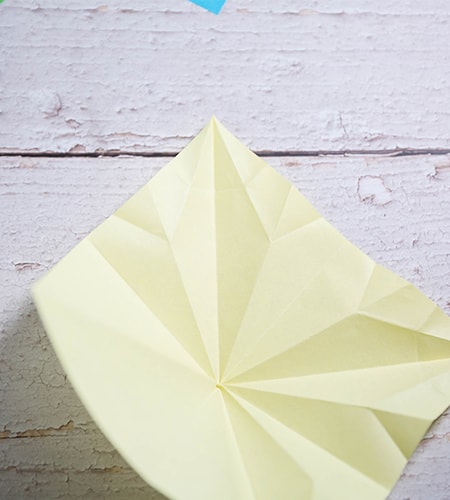
Once again, the steps will have to be repeated 3 times, one for each layer.

Fold down the top tip.
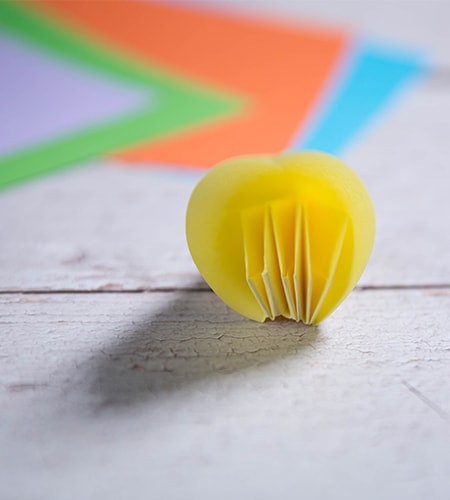
This completes the series of steps for the first layer.
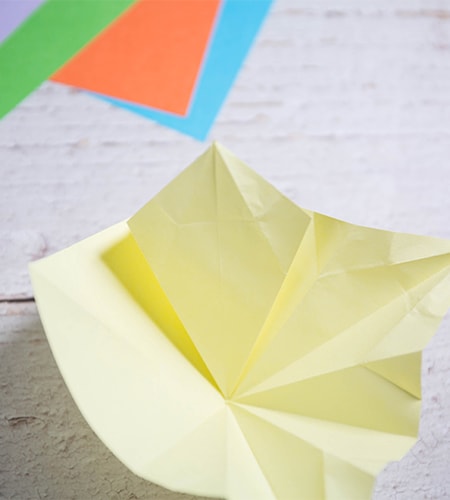
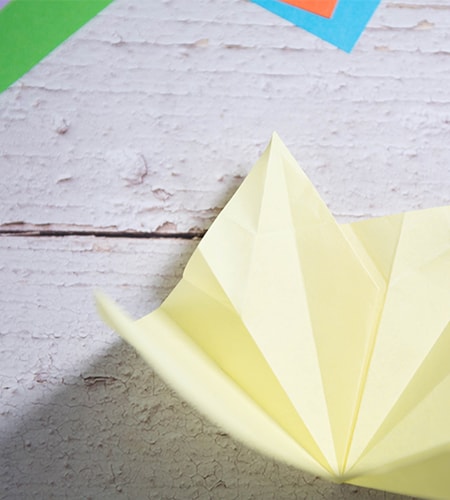
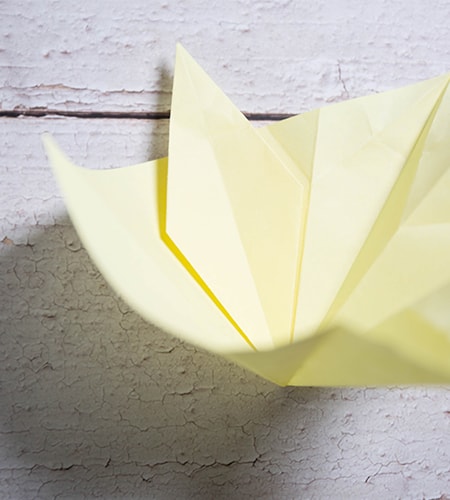
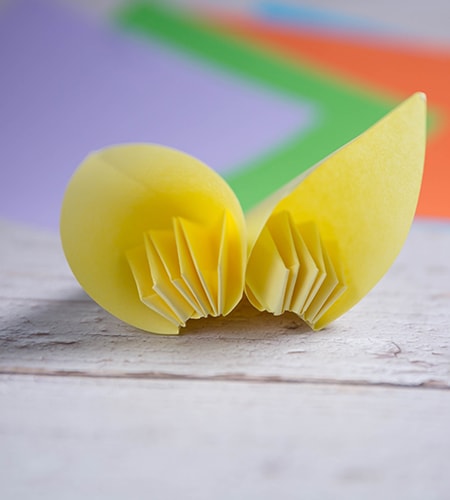
you’ve then completed the steps for one petal.
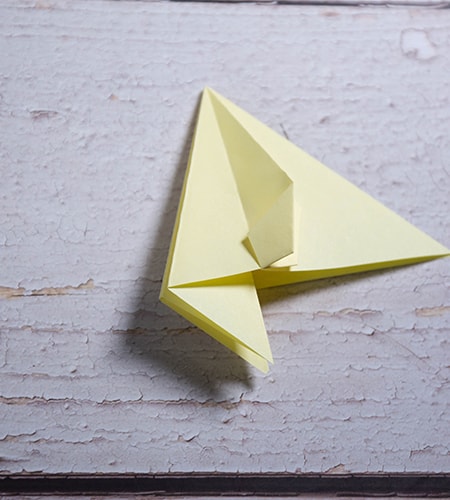
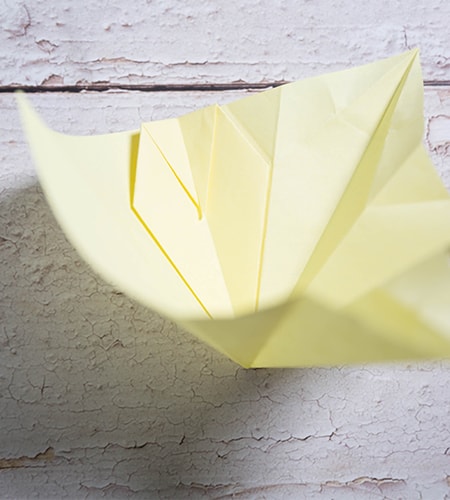
Repeat for the other 3 units.

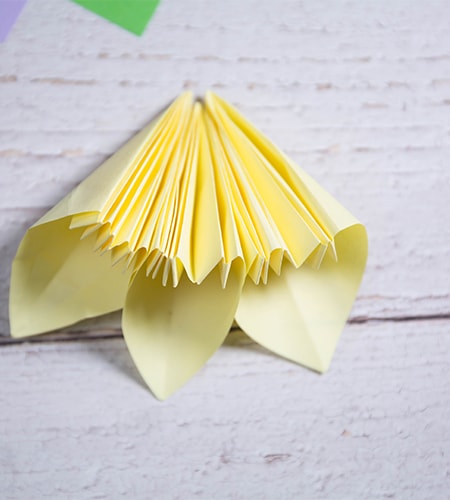
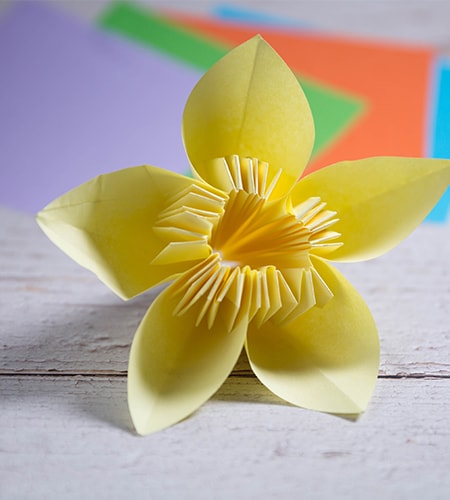
Here’s the completed origami kusudama butterfly! You can make a total of these flowers and glue them together to make 1 kusudama ball.
MORE ORIGAMI READERS LOVE!


3 thoughts on “Origami Kusudama Flower”